|
Crux-O-Matic comes with a very basic interface that supports some of
the basic functions most applications or project will implement this.
Understanding the overall user interface and the very basic functionality
Crux-O-Matic comes with out of the box is the first step towards
customizing Crux-O-Matic and building on top of it.
Each aspect of this user interface can be enabled / disabled or customized.
These customizations will be covered in articles pertaining to
Crux-O-Matic configuration.
As soon as you login with the Crux-O-Matic credentials mentioned in the
“Getting Started” page, you will be presented with a blank page which
can be customized as per your requirement. We will be discussing
this in articles pertaining to Crux-Customizations.
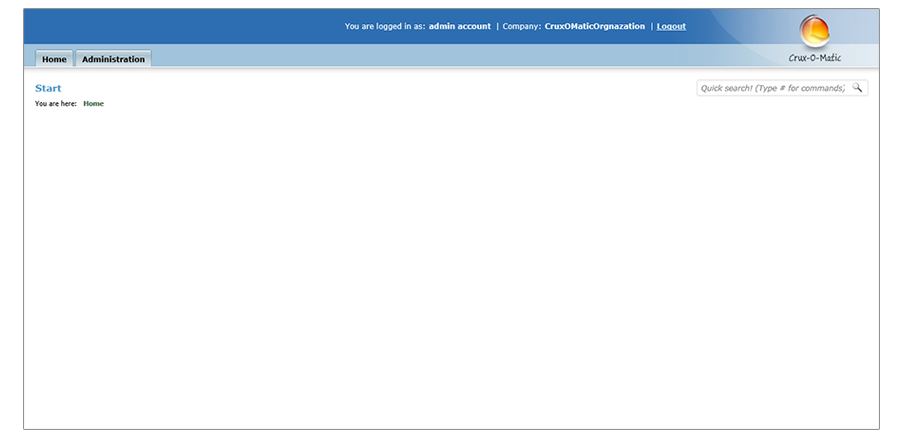
Once here you can move to the “Administration” tab to explore multiple
features that Crux-O-Matic provides out of the box.
Crux-O-Matic provides three basic security roles to begin with. Though these roles and the underlying aspects of permissions can be changed and configured to meet multiple needs but the basic roles provided out of the box are as follows:
Super Administrator – Since Crux-O-Matic provides a multi-tenant system and the ability to add multiple tenants / organizations into the system. Members of the system administrators group can add these tenants to the system, remove these tenants into the system, add local administrators to these tenants and can also manage these tenants themselves. Administrator – These are local administrators within a tenant who have administrative powers but these powers are limited to the organizations to which these administrators belong. Within their own organization these administrators can perform all administrative tasks, like manage users, manage departments and locations associated with their organization etc. Normal users – these are basic Crux-O-Matic users who are inherently allowed to login to the system and change their own passwords. Out of the box these users can perform no administrative functions but can access the basic applications written on Crux if the application writers don’t explicit them from doing so.
While Crux-O-Matic provides programmers with a strong security API
to find out the roles associated with the current user and allows them to
granularly control who can access what, the basic Crux-O-Matic
administrative functions also get enabled and disabled based on
the roles of the current user.
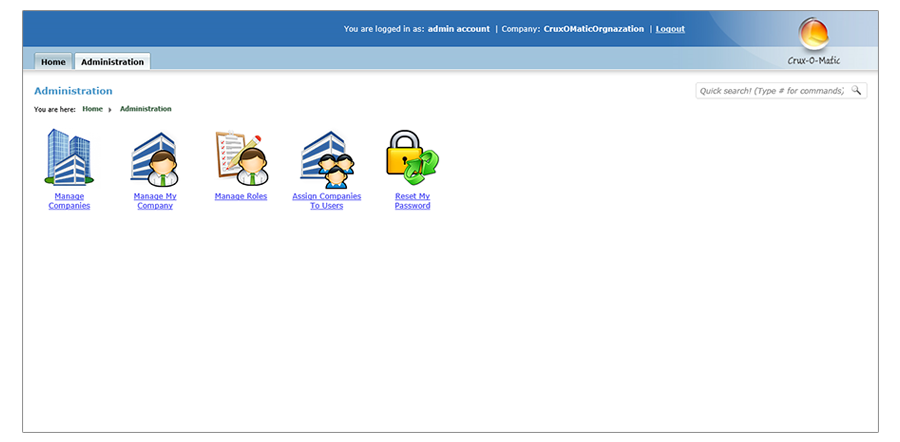
For example the “Manage Companies” icon is available only to Super Administrators.
Normal administrators see a totally different screen and are not allowed to
Manage organizations other than the organizations that they themselves belong to. Similarly they are not allowed to manage system wide roles.
For the purposes of this article we will go ahead and create a basic organization by clicking on Manage Companies:
Once there click on the Add Company button.
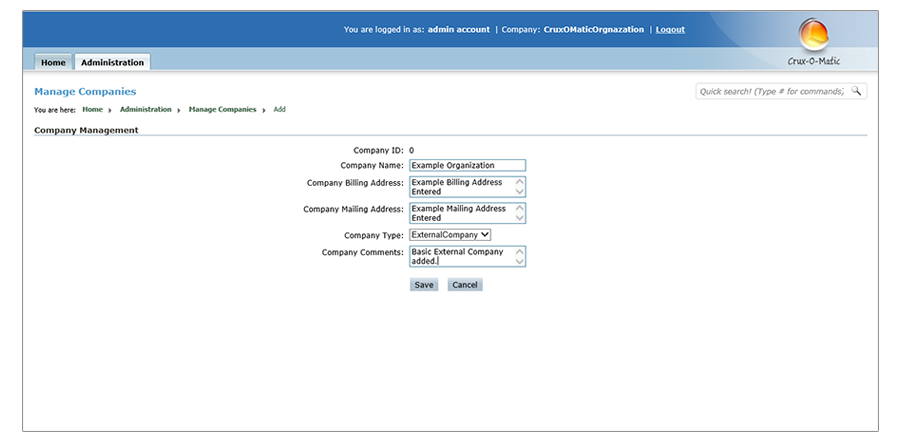
Notice that in the above screen the organization type has been selected as
External Organization. Crux basically offers two kinds of organizations:
Internal Organization – is the organization that runs and manages the system and hence you
can create users with super administrative roles only inside an internal organization.
External Organizations – these are multiple tenants, clients, companies or organizations that will
only work within their own confines and hence roles like Super Administrators cannot exist inside
external organization.
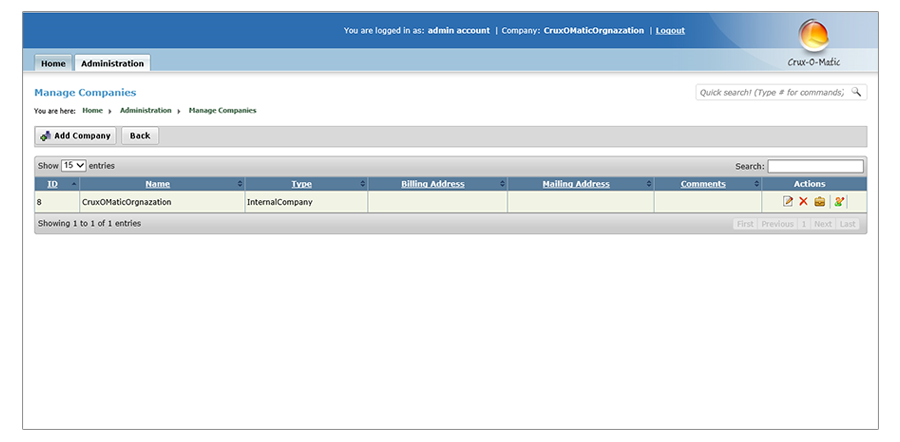
Once an organization is added it is shown in the all organizations list:
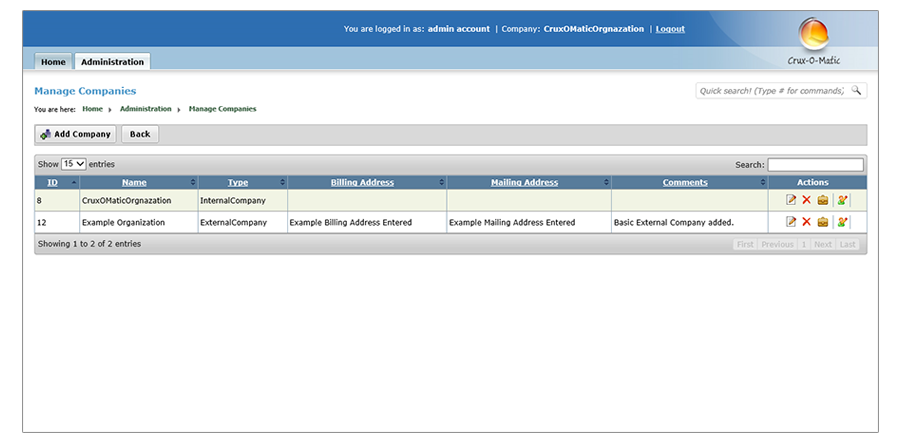
Notice that the organization has four action icons next to it.
The first lets you edit the basic properties of the organization e.g.
the organization name, description, billing address etc. The second
lets you delete the organization. The third lets you perform administrative
tasks on the organization. The fourth is an example of how custom icons /
actions can be added to the Crux-O-Matic dashboards, and we will be
covering that in the articles on Extending Crux-O-Matic user interface.
For now we will manage the organization that we created and will create
one administrator and one normal user within that organization.
To do this click on the Manage Organization action.
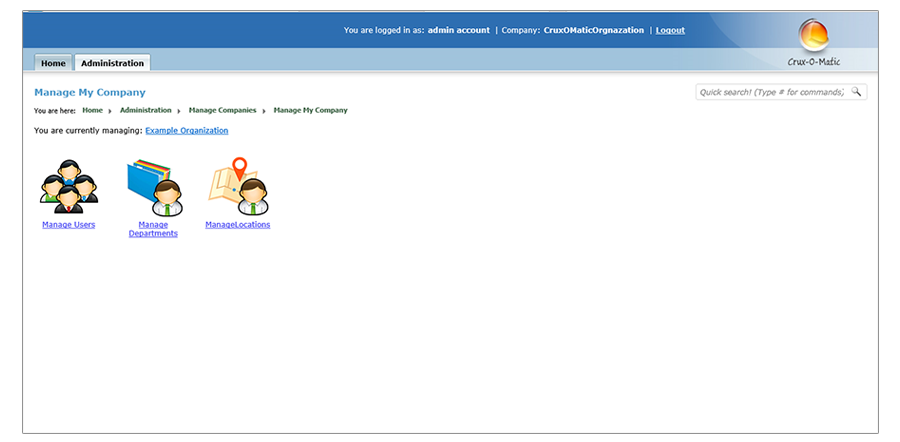
Once inside a specific organization’s administrative screen Crux-O-Matic
tells us which organization is being currently managed.
Now we can start adding users to this organization by clicking “Manage Users”.
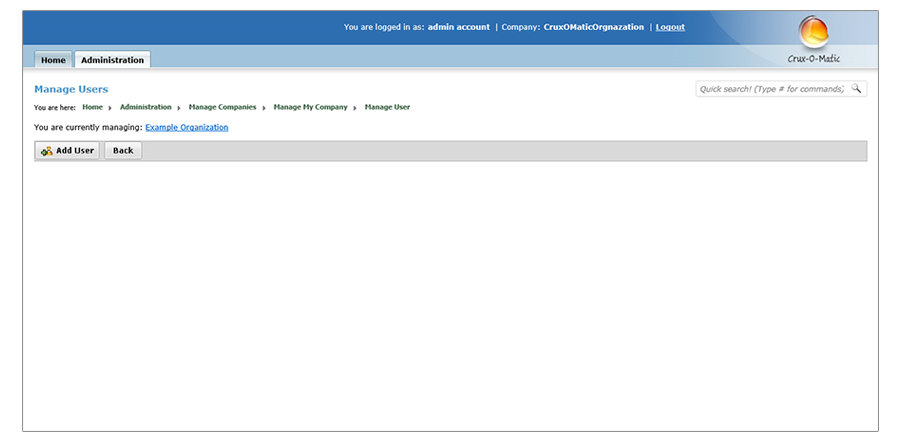
Once on this screen proceed by clicking the add user button.
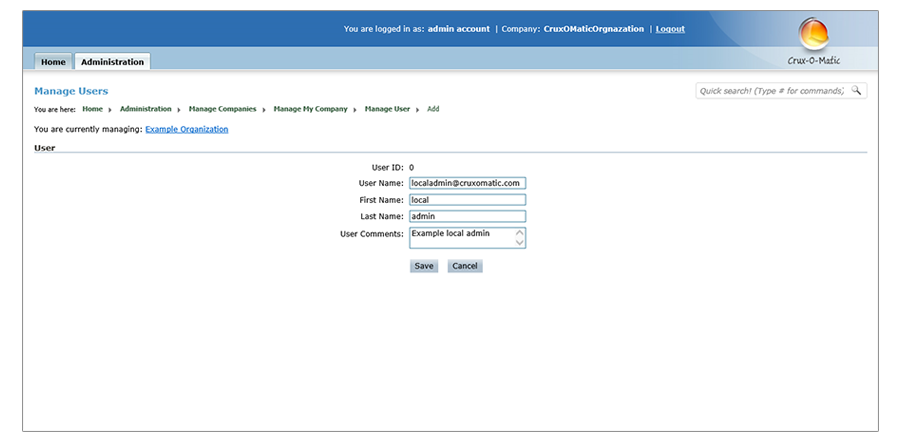
Once a user has been added his user details are shown on the user listing page:
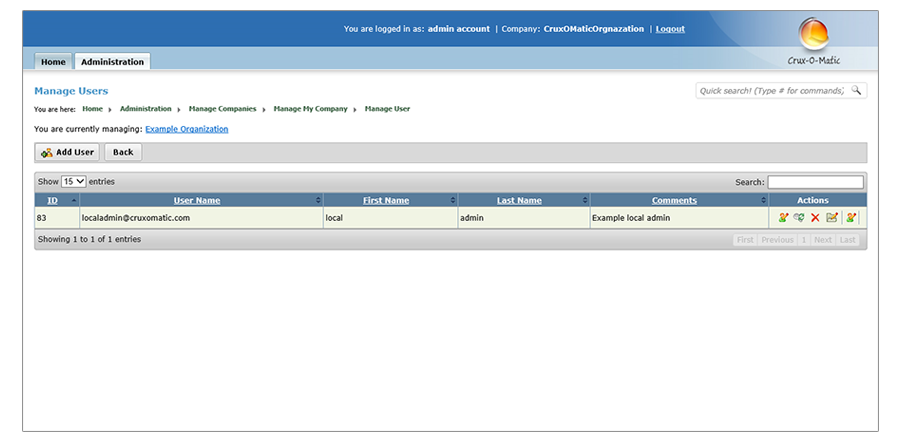
The first icon on the actions tab lets you edit the basic details associated
with that user like their first name, last name, description and user name
associated with the user etc.
Note that if you would not like users to change the usernames once a user has
been created this can be easily avoided using the Crux-O-Matic configuration.
Please refer to the documentation on Crux-O-Matic configuration for obtaining
more details on how this can be achieved by some basic modifications to the
Crux-O-Matic configuration settings.
The second item allows you to change the password of a user. Generally when email notification is turned on (more information in documentation pertaining to Crux-O-Matic configuration), user information like username and password are emailed to the newly created user as soon as he / she is created. You can disable this and manually reset the password of the user if you would like to intimate the user at a later time or if you are creating a test user.
The icons that follows the reset password icon lets you delete the user.
The fourth icon lets you manage roles associated with that specific user.
In this case we will give the newly created user administrative rights:
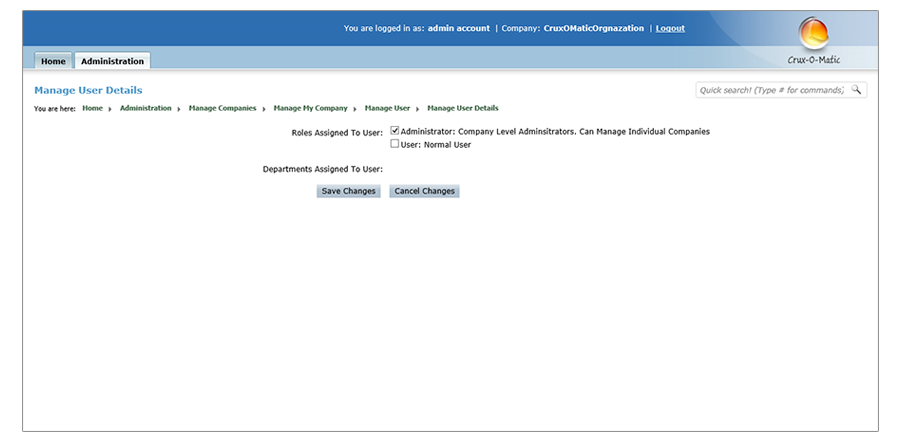
In this case if any departments have been added you are also given
the rights to associate departments with a specific user. In the above
example we associate the user with the Administrator role.
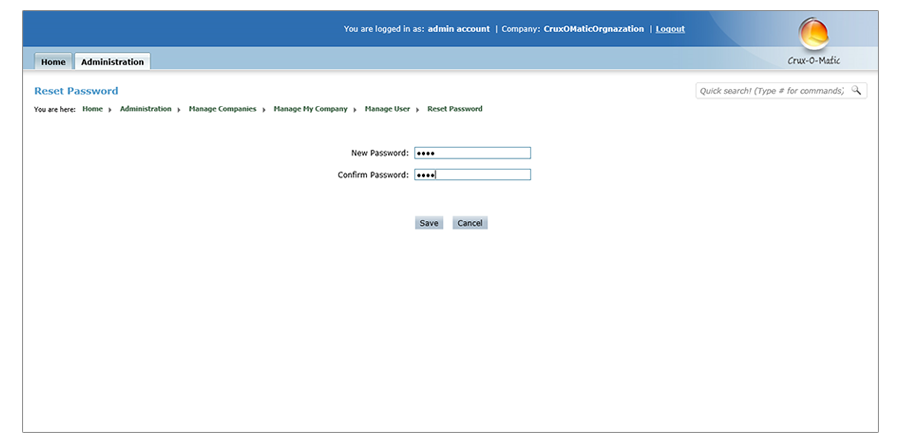
Once this is done we will reset the password of the user, by coming back to
the user listing screen and clicking the reset password link.
Once this is done we can logout of the super administrative role and login as an administrator:
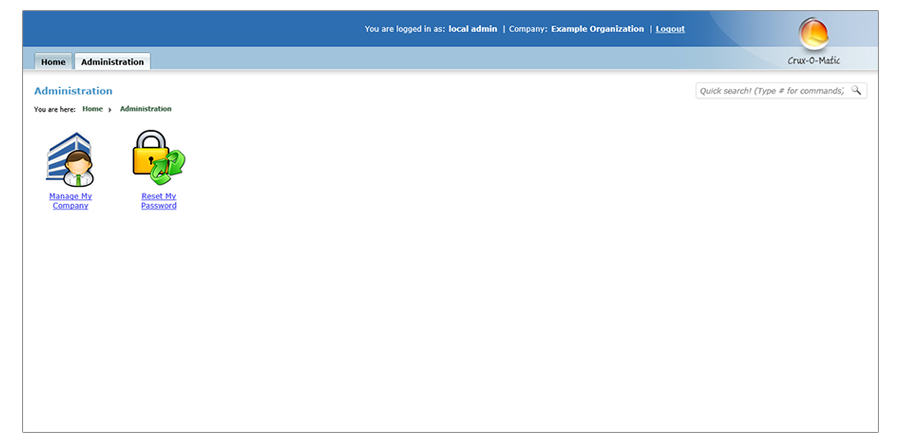
Notice that since you are logged in as a local administrator now you only get
two icons in the administration dashboard. One is to manage your company and
the other is to reset your password. Since you are logged in as a local
administrator you can perform all administrative tasks that are within the
scope of the company / organization that you are associated with.
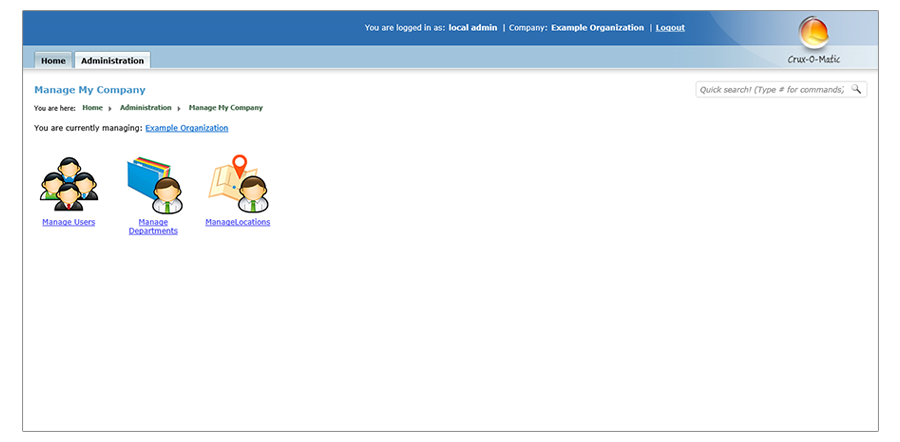
In this case we can go ahead and add a normal user to the system by clicking the Manager Users link:
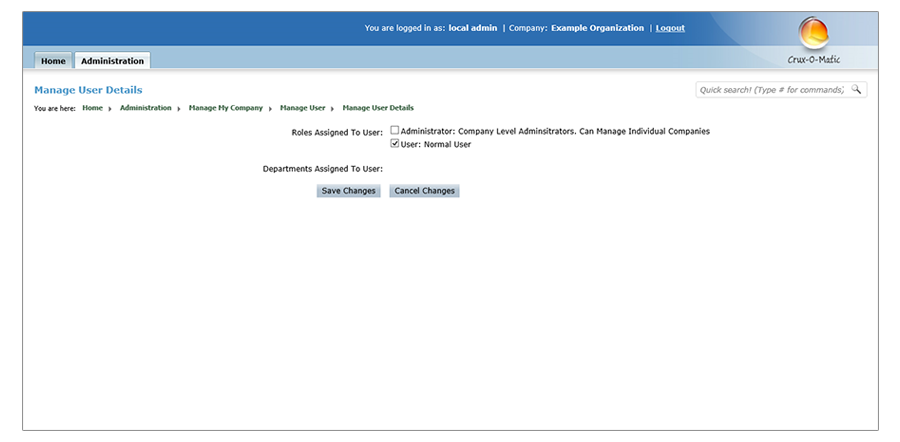
Note that more than one roles can be assigned to a user in Crux-O-Matic and
Crux-O-Matic uses the optimistic security model which means that if a user
is assigned to two roles, the user has rights associated with both the roles
and if there is a conflict in this, the higher right wins and is assigned to the user.
Once a normal user has been created we can logout and login as a normal user:
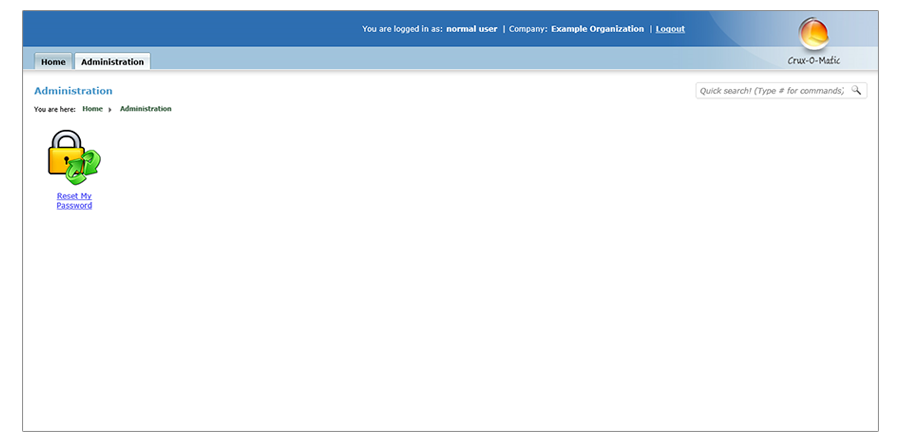
Since we are now logged in as a normal user the only task Crux-O-Matic now
allows us to do is to change our own password.
In this article we covered the basic of Crux-O-Matic,
how you can add organizations, add users with different
roles and how Super Administrators belonging to internal
organizations can perform all administrative tasks, local
Administrators can perform only administrative functions
pertaining to their organizations. Normal users can just
reset their passwords.
Of course the applications built on Crux-O-Matic access the Crux-O-Matic
underlying API to query permissions and roles associated with the current
user and based on the roles that the current user has, individual application
developers and teams can decide which functions they want to allow and disallow
the users of different roles to perform.
|